Consider this tulip blown up many times its original size:

The edges are no longer sharp and appear both blurred and jagged.
Applying a surface blur yields the following result:
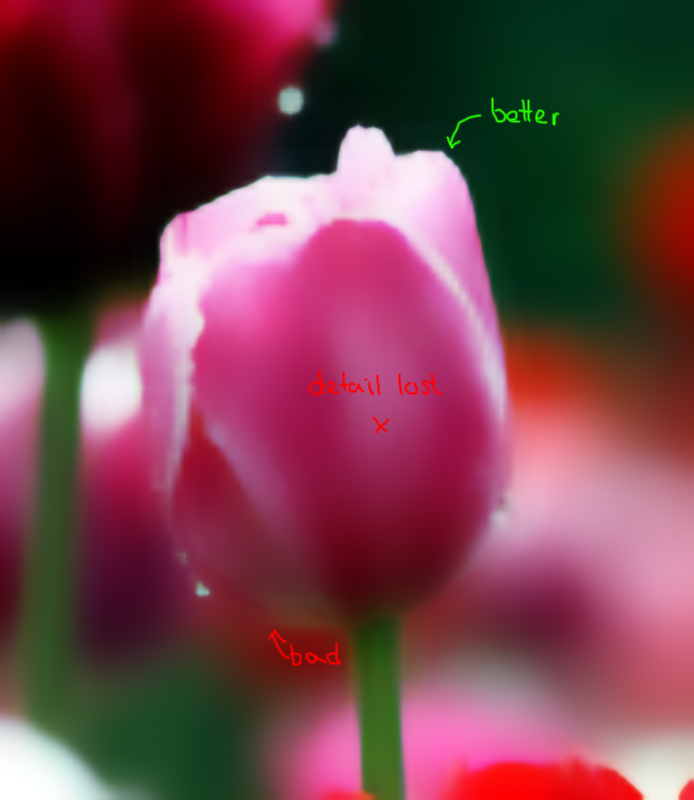
As you can see, I was able to adjust the parameters to sharpen the top of the tulip, but you can see the areas where details fell within the threshold and were blurred to nothing.
Instead, apply the surface blur on its own layer and give that layer a mask:

- Create a layer mask (1)
- Select the layer mask (2)
- Set foreground colour to black (D)
- Use the paint bucket (G) to fill the mask with black
- Use a soft brush (B) and set foreground to white (X)
- Draw over the edges that I pointed to with green arrows. There's no use using the red ones.
- You should now have a black layer mask with white lines on it. Some edges will be sharp, while others will remain blurry:
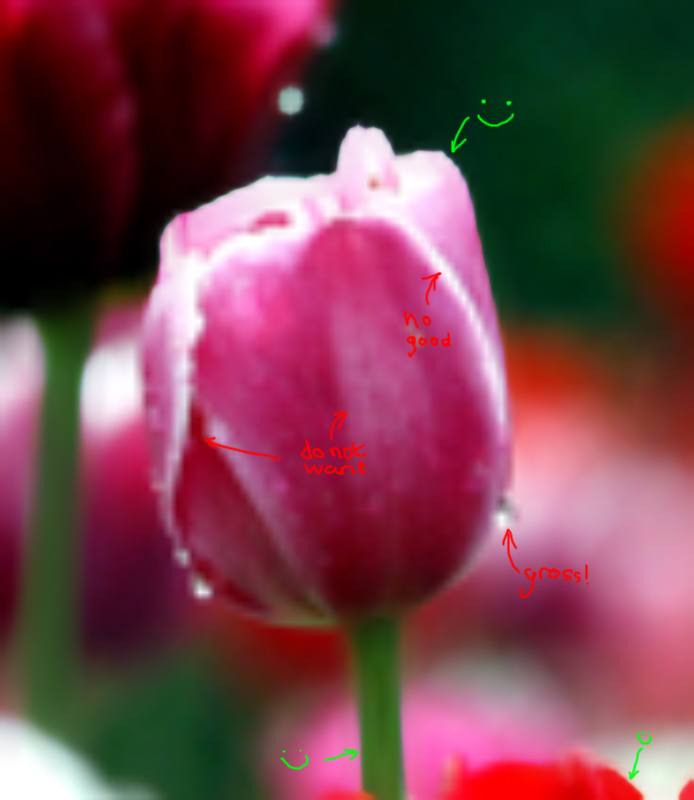
It's a good start, but we need to fix those other edges.
- Duplicate (Ctrl + J) your original blown up layer.
- Apply a surface blur to this new layer, using different parameters this time:
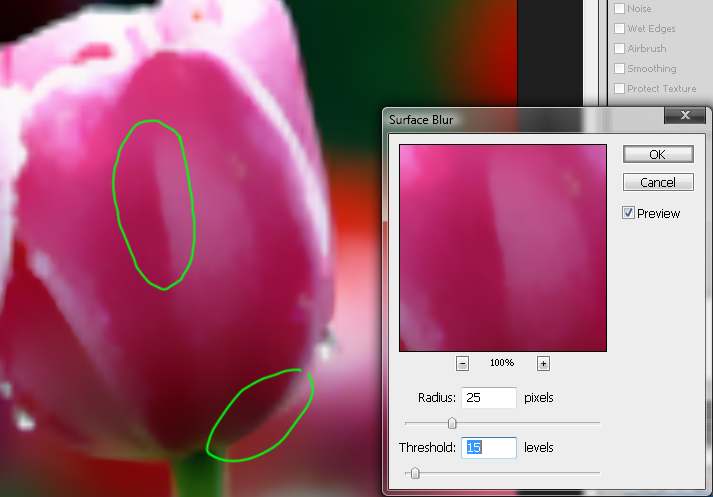
The goal here is to bring out other edges that the first surface blur missed. Just like before, we're going to give this new layer a mask so only these good edges show up.
Repeat until you're happy with it:

Not the best, and it could use a little more work, but it's a great improvement over both the blown up original and the original with a surface blur only. This is also a pretty bad case, the source image is quite small:
 The Lazy Method
If the scene is pretty big and has a lot of edges, or you're lazy.
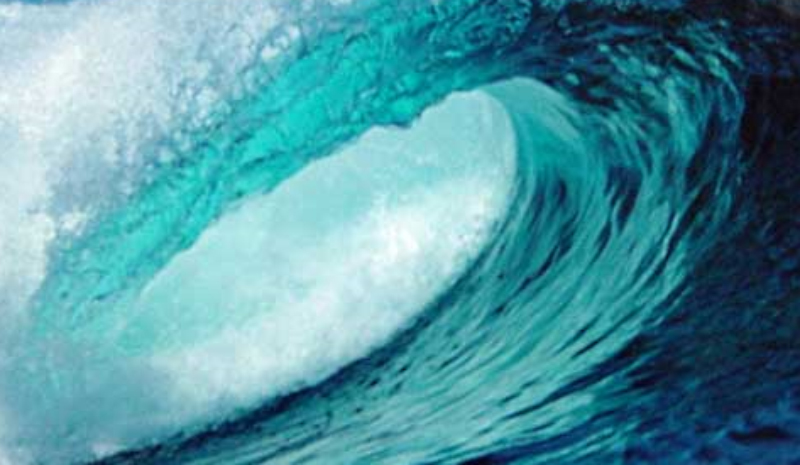
Fuckin thing sucks.

Again, applying a surface blur gets rid of certain details like the splashes, but it helps to sharpen the high contrast edges. Like in the previous example, we're going to use a mask... but this time we're going to make the mask differently.
- Duplicate your original base layer and give it a surface blur that brings detail to key edges
- Duplicate the base layer again, only this time apply the find edges filter (filter/stylize/find edges)
- Desaturate this layer (Ctrl + Shift + U)
- Invert this layer (Ctrl + I)
You should have something like this:

In case you're wondering, the faint grid is caused by the block artifacts in JPEG compression.
Now adjust the levels (Ctrl + L) of this layer:

Apply a gaussian blur (filters/blur/gaussian blur) that blends the solid white areas into their surroundings, but not too much. Finally, adjust the exposure (image/adjustments/exposure) so the centers of these lines are completely white.
The next step is to switch over into the channels window and Ctrl + click the RGB icon. This will convert the image intensity into a selection; in other words, bright areas will be selected:

Now with this selection made, create a layer mask on the surface blur layer.
Here's a comparison:
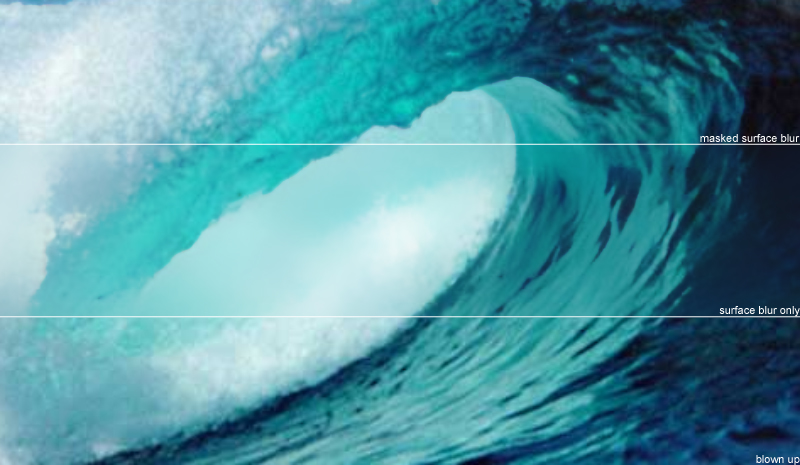
My method keeps the low contrast splashes in the image, but also sharpens the edges. Unfortunately, the JPEG artifacts are only slightly diminished. Removing them would require the combination of this quick method with the previous.




Bookmarks